**Title: Mastering Phlebotomy: A Step-by-Step Guide to Perfecting Your Blood Drawing Skills**
**Introduction:**
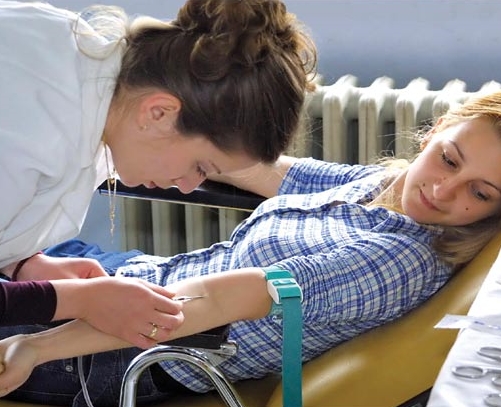
Phlebotomy is an essential skill in the medical field, involving the process of drawing blood from a patient for various purposes, such as diagnostic testing, transfusions, or research. Mastering the art of phlebotomy requires precision, patience, and practice. In this comprehensive guide, we will walk you through the steps to perfecting your blood drawing skills, from preparing the equipment to performing the venipuncture.
**Benefits of Mastering Phlebotomy:**
– Increased confidence in handling blood collection procedures
– Improved patient satisfaction with a more comfortable and efficient blood draw experience
- Enhanced career prospects in the healthcare industry
– Contribution to accurate diagnostic results through proper blood specimen collection
**Step 1: Prepare Your Equipment**
Before starting the blood drawing procedure, it is crucial to gather all necessary equipment and ensure that everything is in proper working order. Here is a list of essential items you will need:
1. Phlebotomy chair or bed
2. Tourniquet
3. Sterile gloves
4. Antiseptic swabs
5. Blood collection tubes with appropriate additives
6. Needles (butterfly needle or straight needle)
7. Bandages or gauze pads
8. Sharps container for safe disposal of used needles
**Step 2: Identify and Prepare the Patient**
1. Introduce yourself and explain the blood drawing procedure to the patient.
2. Confirm the patient’s identity using two unique identifiers (e.g., name and date of birth).
3. Ask the patient about any allergies or medical conditions that may affect the blood draw.
4. Position the patient comfortably and ensure proper lighting for vein visualization.
**Step 3: Locate and Palpate Veins**
1. Examine the patient’s arms to identify suitable veins for venipuncture.
2. Use your fingers to palpate the veins and select the best site for blood collection.
3. Apply a tourniquet a few inches above the chosen vein to engorge the vein and make it easier to access.
**Step 4: Perform the Venipuncture**
1. Put on sterile gloves and clean the skin around the selected vein with an antiseptic swab.
2. Anchor the vein by gently pulling the skin taut below the puncture site.
3. Insert the needle at a 15 to 30-degree angle with a quick, smooth motion.
4. Release the tourniquet once blood flow is established and fill the collection tubes in the correct order.
**Practical Tips for Mastering Phlebotomy:**
– Practice proper hand hygiene before and after each blood draw.
– Communicate effectively with the patient to alleviate any fears or concerns.
– Label the blood collection tubes accurately to avoid specimen errors.
– Stay up-to-date on phlebotomy techniques and safety guidelines.
**Case Study:**
Sarah, a new phlebotomist, struggled to find veins in difficult patients. By practicing vein palpation techniques and seeking guidance from experienced colleagues, she gradually improved her blood drawing skills and gained confidence in challenging situations. Sarah’s dedication to mastering phlebotomy led to positive feedback from patients and healthcare providers alike.
**Conclusion:**
Mastering phlebotomy is a continuous learning process that requires dedication, attention to detail, and compassion for patients. By following this step-by-step guide and incorporating practical tips into your practice, you can enhance your blood drawing skills and become a proficient phlebotomist. Remember, practice makes perfect, so keep honing your skills to excel in this vital aspect of healthcare.